Wood Cladding Installation Services Overview
Visitors can learn about local contractors who specialize in wood cladding installation services and how they can help with their projects.
- - Residential property owners seeking to enhance the appearance and durability of their homes with natural wood accents.
- - Commercial building managers looking for skilled local contractors to install wood cladding on storefronts, offices, or retail spaces.
- - Renovation specialists and contractors in need of reliable service providers to handle wood cladding installation projects.


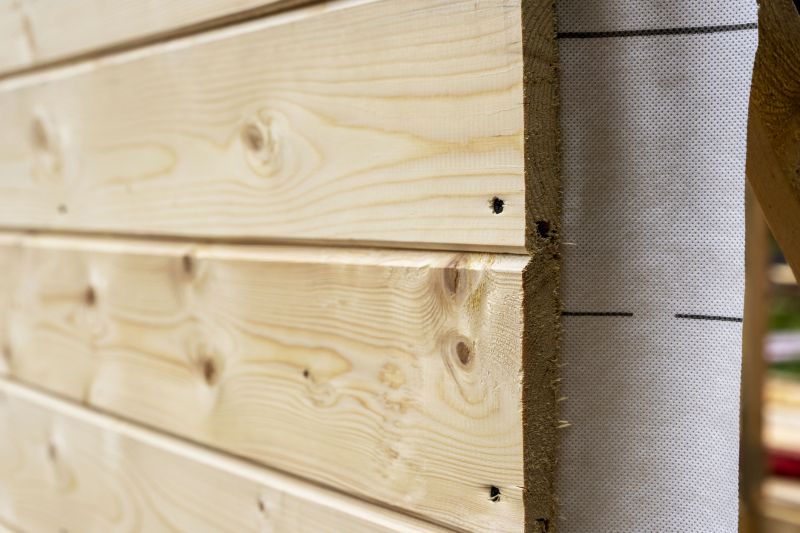
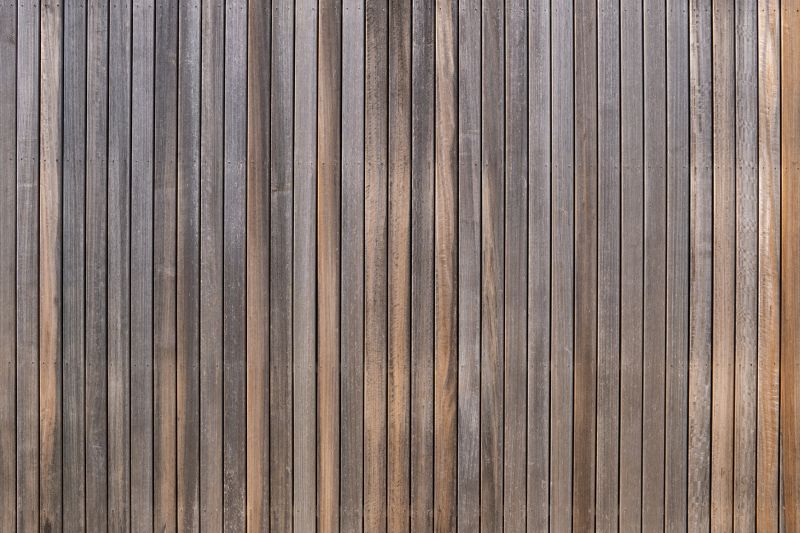
Wood cladding installation is a popular choice for enhancing the appearance and durability of building exteriors and interiors. Local contractors specializing in this service typically handle tasks such as measuring, preparing surfaces, selecting appropriate materials, and securely attaching wood panels to achieve a polished, long-lasting finish. Property owners often seek out experienced professionals to ensure the installation is done accurately, whether for renovations, new construction, or aesthetic updates.
Connecting with local service providers allows property owners to compare options and find experienced installers suited to their specific project needs. These professionals are familiar with various wood cladding styles and installation techniques, helping to manage the complexities involved in working with different building types and materials. By reaching out to local pros, property owners can access knowledgeable contractors who can provide guidance and quality workmanship for their wood cladding projects.
This guide provides helpful information to understand the key aspects of wood cladding installation projects. It assists in comparing local service providers and understanding the basics to facilitate discussions about your project. The goal is to help visitors make informed decisions when connecting with nearby contractors for their wood cladding needs.